The Raspberry Pi is a small, affordable, and highly versatile computer that has revolutionized the way people approach technology and innovation. Initially designed to teach programming and computing in schools, it has since become a go-to platform for hobbyists, engineers, educators, and makers worldwide. With its low price and vast community support, the Raspberry Pi has enabled countless DIY projects, ranging from home automation to robotics, gaming, and media centers.
One of the key reasons for the Raspberry Pi’s popularity is its flexibility and expandability. While the base model of the Raspberry Pi can handle a wide range of tasks, its true potential is unlocked through add-on accessories, one of the most popular being Raspberry Pi HATs.
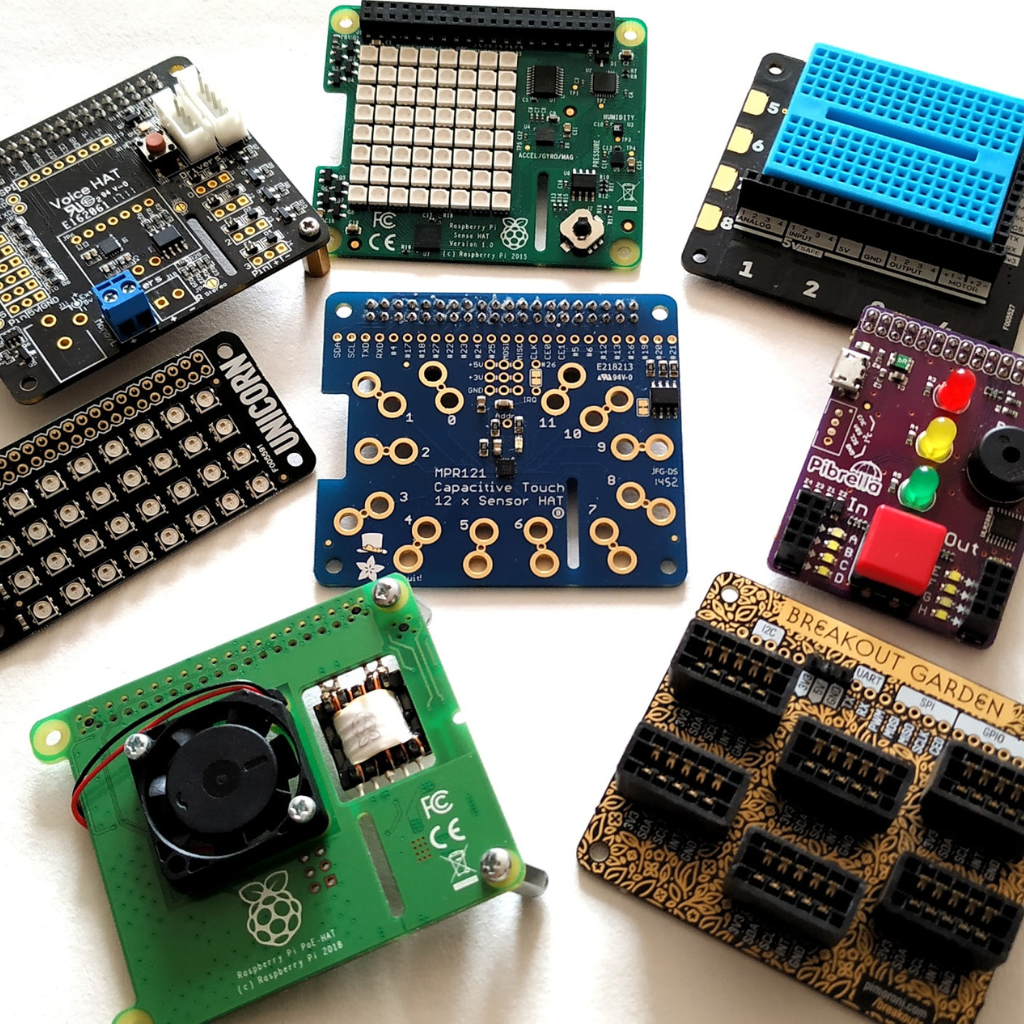
HATs, or “Hardware Attached on Top,” are small boards designed to fit directly onto the Raspberry Pi’s GPIO (General Purpose Input/Output) pins. They provide an easy and efficient way to extend the capabilities of the Raspberry Pi without the need for complex wiring or soldering. These add-ons range from sensors and motor controllers to audio systems and even display modules. The best part? Installing them is as simple as plugging them in. Raspberry Pi HATs simplify the process of enhancing the Raspberry Pi’s functionality, allowing users to focus on their projects without getting bogged down by the technicalities of connecting and configuring components.
We will explore what Raspberry Pi HATs are, how they work, and some exciting ways you can use them to elevate your Raspberry Pi experience. Whether you’re a beginner or an advanced user, Raspberry Pi HATs offer endless possibilities for expanding your projects and making the most out of your Raspberry Pi.
What Are Raspberry Pi HATs?
Raspberry Pi HATs, or Hardware Attached on Top, are expansion boards designed to plug directly into the Raspberry Pi’s GPIO (General Purpose Input/Output) pins, instantly adding new functionality to the Raspberry Pi. These boards are specifically designed for ease of use and compatibility with the Raspberry Pi, enabling users to quickly expand their projects without complex setup or soldering.
The primary advantage of HATs over older add-on modules is their convenience. Traditionally, adding components like sensors, motors, or displays to a Raspberry Pi required extensive wiring and often, soldering, making it a challenging task, especially for beginners. With HATs, however, you can simply connect the expansion board directly to the Raspberry Pi’s GPIO pins. These boards are pre-configured and include all the necessary connections and components, so you don’t need to worry about soldering wires or configuring complex circuits. Just plug them in, and you’re ready to go.
Raspberry Pi HATs are designed to be fully compatible with the Raspberry Pi Model B+ and later models, taking advantage of the enhanced GPIO header that the B+ introduced. This compatibility ensures that the HATs will work seamlessly across different Raspberry Pi models, allowing users to experiment with new components while maintaining consistency in their projects.
One of the best features of Raspberry Pi HATs is their multifunctionality. A single HAT can serve a variety of purposes—whether it’s adding sensors like accelerometers or temperature monitors, enhancing audio capabilities, providing motor control for robotics, or even turning your Raspberry Pi into a home automation hub. The possibilities are nearly endless.
There is a wide variety of HATs available for every need and interest. Some popular types include sensor HATs, audio HATs, motor driver HATs, and even camera HATs. Whether you’re building a weather station, setting up a media center, or creating a robot, there’s likely a Raspberry Pi HAT that fits your project. This wide range of options makes it easy for beginners and experienced users alike to find something that matches their needs.
Popular Raspberry Pi HATs and Their Uses
Raspberry Pi HATs come in a variety of types, each designed to enhance the Raspberry Pi’s capabilities and unlock new features. Here, we’ll explore some of the most popular HATs and provide an overview of their features, uses, and example projects to help you understand how you can utilize them in your own Raspberry Pi projects.
The Sense HAT
The Sense HAT is an all-in-one sensor-packed board designed for the Raspberry Pi. It features a range of sensors including an accelerometer, gyroscope, magnetometer, air pressure sensor, and temperature and humidity sensors. Additionally, it includes a 16×8 LED matrix display for visual output and a joystick for user interaction. The Sense HAT is ideal for projects involving environmental monitoring, motion detection, and real-time data visualization.
Example Project: Detecting Movement Using the Accelerometer
One fascinating project with the Sense HAT involves using the accelerometer to detect movement. By writing a simple Python script, you can program the Raspberry Pi to respond to motion and use the LED matrix display to show visual feedback. For example, you can program the Pi to display a moving sprite on the LED matrix when the device is tilted in different directions.
The coding for this project would involve importing libraries to access the sensor data and writing code to detect changes in acceleration. Once the code is written, the project can be tested by physically tilting the Raspberry Pi and observing the movement of the sprite on the LED display.
The pHAT Beat
The pHAT Beat is an audio-focused HAT designed to improve sound quality on the Raspberry Pi. It features amplified sound, digital output, and stereo audio support. Additionally, the pHAT Beat includes six control buttons for adjusting volume, skipping tracks, or pausing music. This HAT is perfect for building audio projects, such as music streaming devices or media centers.
Example Project: Streaming Spotify or Other Audio Services
One great project for the pHAT Beat is setting up a Spotify music streaming device. To get started, you’ll need to connect one or two speakers to the pHAT Beat’s push-fit speaker terminals, then plug the pHAT Beat into the Raspberry Pi’s GPIO pins. With the proper software installed on your Raspberry Pi, such as Pi MusicBox, you can easily stream music directly from Spotify or other online services.
Steps to connect speakers and set up:
- Plug the pHAT Beat into the Raspberry Pi’s GPIO pins.
- Connect speakers to the pHAT Beat’s audio output terminals.
- Install a music streaming application like Pi MusicBox.
- Configure the software to stream Spotify or other audio services.
With everything connected, your Raspberry Pi will be ready to stream high-quality audio to your speakers, offering a fantastic music experience without the need for complex wiring.
The TV HAT
The TV HAT allows the Raspberry Pi to receive and decode digital TV streams, making it possible to watch live TV channels on the Pi. This HAT works with DVB-T2 (Digital Video Broadcasting – Terrestrial) signals and supports Freeview TV in many regions. It’s ideal for turning your Raspberry Pi into a home media center or a low-cost digital TV tuner.
Setup Instructions: Installing the tvheadend Package on Raspberry Pi OS
To get started with the TV HAT, you’ll need to install the tvheadend package on your Raspberry Pi OS. Here are the basic steps:
- Open a terminal on your Raspberry Pi and update the package list:
sudo apt-get update - Install tvheadend:
sudo apt-get install tvheadend - After installation, open the tvheadend web interface via your browser (usually at http://<your-pi-ip>:9981).
- Follow the setup instructions to configure the TV HAT, scan for available channels, and start watching TV.
Once set up, the TV HAT turns your Raspberry Pi into a fully functioning TV tuner, enabling you to watch and record your favorite shows directly from the Pi.
Uptime UPS
The Uptime UPS (Uninterruptible Power Supply) HAT is designed to protect your Raspberry Pi from power interruptions. It includes battery slots that allow the Pi to keep running even during a power failure. This is especially useful for projects that require continuous operation, like home automation or remote monitoring systems. The Uptime UPS is easy to install and doesn’t require any soldering, making it beginner-friendly.
Benefits: Continuous Operation Without Soldering or Extra Effort
The Uptime UPS ensures that your Raspberry Pi continues to run during brief power outages, preventing data loss or project interruptions. It’s an excellent choice for anyone working on critical or long-running Raspberry Pi projects.
Availability: You can find the Uptime UPS on various online platforms, such as Amazon and Raspberry Pi-focused stores, and it’s simple to set up—just plug it in and install the necessary drivers.
With the Uptime UPS HAT, your Raspberry Pi can run reliably all day, without the worry of sudden power failures interrupting your work.
Getting Started with Raspberry Pi HATs
Getting started with Raspberry Pi HATs is an exciting and rewarding journey, allowing you to expand the functionality of your Raspberry Pi and bring your creative ideas to life. If you’re ready to dive in, here’s a step-by-step guide to help you get started.
Steps to Purchase a Raspberry Pi Model B+ and Some HATs
The first step in getting started with Raspberry Pi HATs is to acquire a Raspberry Pi Model B+ or a later model, as these are fully compatible with the HAT expansion boards. You can find the Raspberry Pi Model B+ in most reputable electronics stores, both online and in physical locations. It’s a good idea to purchase the model with a power supply and microSD card, as these are essential for the Raspberry Pi to function.
Once you have your Raspberry Pi, it’s time to select some HATs. There are a vast number of Raspberry Pi HATs available for various applications—sensor boards, audio enhancers, motor controllers, and more. Depending on your project goals, you can begin by selecting a few HATs that will help you explore the Raspberry Pi’s potential. If you’re unsure where to start, popular options like the Sense HAT, pHAT Beat, and TV HAT are great choices for beginners.
Importance of Browsing Reputable Raspberry Pi Stores
When purchasing Raspberry Pi hardware, it’s crucial to choose reputable Raspberry Pi stores to ensure that you’re getting authentic, high-quality products. Authorized stores and official Raspberry Pi resellers often provide detailed product descriptions, customer support, and warranty options. They also ensure compatibility with your Raspberry Pi model, so you won’t run into compatibility issues.
Some well-known, trusted stores include:
- The Raspberry Pi Foundation Store
- Pimoroni
- Adafruit
- SparkFun
Shopping from these stores ensures that you receive genuine HATs and accessories designed specifically for Raspberry Pi, making your setup and projects hassle-free.
Emphasize Experimenting with Various HATs to Unlock Creative Potential
Once you’ve acquired your Raspberry Pi and a few HATs, the fun begins! One of the best ways to truly understand the potential of Raspberry Pi HATs is by experimenting with a variety of boards. Each HAT offers unique capabilities, and by combining them, you can create innovative projects that push the boundaries of what your Raspberry Pi can do.
For example, you could use a Sense HAT to gather environmental data and display it on an LED matrix while also using a pHAT Beat to stream that data as audio. Or, combine a TV HAT with a Uptime UPS to create a portable media center that stays online even during power interruptions.
Experimenting with different HATs can also help you learn coding, electronics, and project development. As you progress, you’ll discover new ways to integrate different components and build something uniquely your own.
Read more: How Has Technology Changed Collaboration?
Conclusion
Raspberry Pi HATs open up a world of possibilities, transforming your Raspberry Pi into a versatile tool capable of handling an array of exciting projects. From sensors and audio enhancements to media streaming and power backup solutions, the variety and functionality of HATs can truly expand the potential of your Raspberry Pi.
By understanding the basics of Raspberry Pi HATs, how they attach to your Raspberry Pi, and exploring the many options available, you can dive into a range of projects that enhance your learning and creativity. The process is straightforward—purchase a Raspberry Pi, select some HATs, and start experimenting.
Whether you are building a weather station with the Sense HAT, enhancing audio with the pHAT Beat, or watching TV with the TV HAT, the opportunities are endless. The best part is that these add-ons are designed for ease of use, allowing both beginners and advanced users to explore and innovate without complex setups or soldering.

 By
By