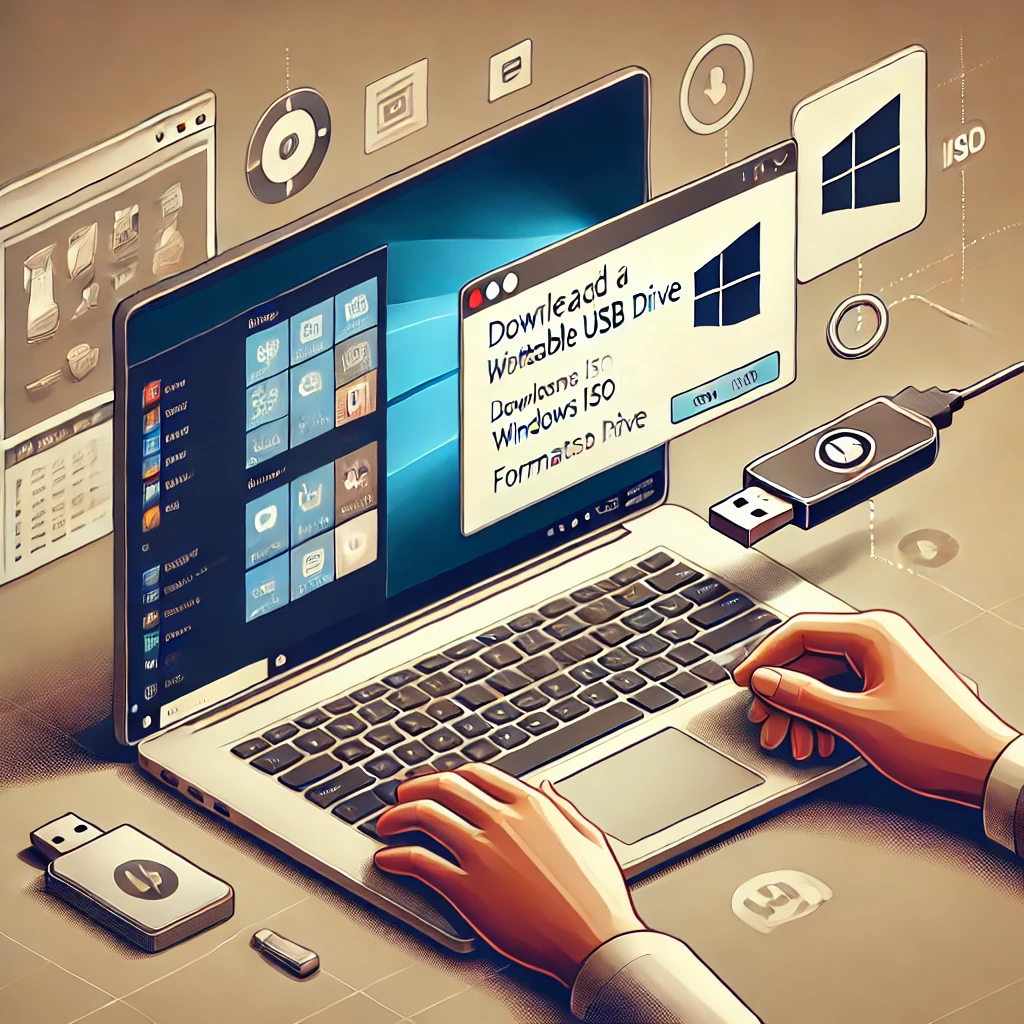
A bootable USB drive is a modern and essential tool for anyone looking to install or reinstall an operating system like Windows. In an era where optical drives are becoming obsolete, USB drives offer a faster, more reliable, and portable solution for deploying operating systems. Unlike DVDs or CDs, USB drives are durable, reusable, and compatible with virtually all modern devices, making them the preferred choice for operating system installations.
One of the primary reasons to create a bootable USB drive for Windows installation is its efficiency. USB drives are significantly faster than traditional optical disks, which means you can complete installations in a fraction of the time. Additionally, they are compact, lightweight, and easy to carry, allowing users to keep their installation media handy for emergencies or multiple device setups.
Moreover, using a USB drive allows for greater flexibility. They can accommodate larger files, making them suitable for modern Windows versions that often exceed the capacity of standard DVDs. USB drives also support customization, enabling users to include drivers, updates, or other tools along with the Windows installation files.
In essence, a bootable USB drive simplifies the process of installing Windows, ensuring that the task is not only quicker but also more user-friendly. Whether you’re upgrading your operating system, troubleshooting a problematic installation, or setting up a new device, having a bootable USB drive ensures you’re well-prepared for the task ahead.
Prerequisites for Creating a Bootable USB Drive
Required Tools and Materials
Before you start, ensure you have the following:
- USB Drive: At least 8GB of storage (16GB or more is recommended for larger Windows versions).
- Windows ISO File: A copy of the Windows installation media in ISO format, which can be downloaded from official sources.
- Bootable USB Creation Tool: Software like Rufus or the Windows Media Creation Tool.
- Computer with Internet Access: Necessary for downloading the ISO file and bootable USB creation software.
- Administrator Rights: Required on the computer to perform certain tasks, such as formatting the USB drive.
Minimum System Requirements
For the USB Drive:
- Minimum capacity: 8GB.
- USB 3.0 is recommended for faster installation speeds but USB 2.0 is sufficient.
For the Target Device:
- Compatibility with the Windows version you are installing.
- At least 1GHz processor, 1GB of RAM (32-bit), or 2GB of RAM (64-bit).
- Minimum disk space of 16GB (32-bit) or 20GB (64-bit).
- Support for booting from USB in the BIOS or UEFI settings.
Choosing the Right Tool for the Job
Popular Tools for Creating a Bootable USB Drive
- Rufus
- Lightweight and versatile software designed specifically for creating bootable USB drives.
- Supports a variety of ISO files and advanced formatting options.
- Windows Media Creation Tool
- An official tool provided by Microsoft for creating bootable USB drives.
- Simplifies the process for users unfamiliar with third-party tools.
Pros and Cons of Each Tool
- Rufus
- Pros: Free, fast, supports advanced features like GPT/MBR partition schemes, and works with various operating systems.
- Cons: Slightly more complex interface for beginners.
- Windows Media Creation Tool
- Pros: Officially supported by Microsoft, easy to use, automatically downloads the ISO file.
- Cons: Limited customization options and slower than Rufus in some cases.
Downloading the Windows ISO File
Official Sources for Obtaining the ISO File
The safest way to get a Windows ISO file is directly from Microsoft’s official website. Follow these steps:
- Visit the Microsoft Windows download page.
- Select the version of Windows you need (e.g., Windows 10, 11).
- Download the ISO file after verifying your system’s requirements.
Verifying the Authenticity of the ISO File
To ensure the file is legitimate:
- Check the digital signature or hash value provided by Microsoft.
- Avoid third-party sources, as they may contain modified or malicious files.
Formatting the USB Drive
Importance of Formatting
Formatting the USB drive is crucial to ensure it is free of any existing data or file system errors that could interfere with the bootable drive creation process.
Steps to Format the USB Drive
- Insert the USB drive into your computer.
- Open “File Explorer,” right-click on the USB drive, and select “Format.”
- Choose the File System as “NTFS” or “FAT32” (depending on the tool requirements).
- Click “Start” and confirm the action.
Using Rufus to Create a Bootable USB Drive
Step-by-Step Guide
- Download and install Rufus from the official website.
- Open Rufus and insert your formatted USB drive.
- Select the USB drive under “Device.”
- Click “Select” to choose the Windows ISO file.
- Configure settings:
- Partition Scheme: MBR (for BIOS) or GPT (for UEFI).
- File System: NTFS or FAT32.
- Click “Start” and wait for the process to complete.
Key Settings to Configure
- Ensure the partition scheme matches the target device’s BIOS/UEFI requirements.
- Check the “Quick Format” option for faster setup.
Using the Windows Media Creation Tool
Step-by-Step Guide
- Download the Windows Media Creation Tool from Microsoft’s website.
- Run the tool and accept the license agreement.
- Select “Create installation media (USB flash drive, DVD, or ISO) for another PC.”
- Choose the desired language, edition, and architecture.
- Insert your USB drive and select it as the target device.
- Click “Next” and wait for the tool to create the bootable USB drive.
Handling Common Errors
- Ensure your USB drive has sufficient space.
- Restart the tool if it freezes or encounters errors.
Testing the Bootable USB Drive
How to Test
- Insert the USB drive into a computer.
- Restart the computer and access the BIOS/UEFI settings (usually by pressing F2, F12, or Del during boot).
- Set the USB drive as the primary boot device.
- If the installation process begins, the USB drive is working correctly.
Tools or Methods for Testing
- Virtual machines like VMware or VirtualBox can simulate the boot process without requiring a physical device.
Installing Windows Using the Bootable USB Drive
Overview of the Installation Process
- Insert the bootable USB drive into the target device.
- Restart the computer and boot from the USB drive.
- Follow the on-screen prompts to select language, time, and keyboard preferences.
- Choose “Install Now” and enter the Windows product key (if required).
- Select the drive/partition for the Windows installation and follow the remaining instructions.
Key Settings to Look Out For
- Ensure the correct drive is selected to avoid accidental data loss.
- Customize installation settings if needed (e.g., file system, drive format).
Troubleshooting Common Issues
Common Errors and Solutions
- USB Not Recognized: Reformat the drive and recreate the bootable media.
- Boot Failure: Check the boot order in BIOS/UEFI or recreate the bootable drive with corrected settings.
- Installation Errors: Verify the ISO file and retry the process.
Overcoming Compatibility Issues
- Match the partition scheme (MBR/GPT) to the target device’s BIOS/UEFI settings.
- Use updated versions of bootable USB creation tools.
Conclusion
Creating a bootable USB drive for installing Windows is an invaluable skill that combines convenience and reliability. By following the steps outlined in this guide, you can prepare a versatile installation tool that works efficiently across multiple devices. Whether you are a novice or an experienced user, this method ensures a seamless Windows installation process, keeping your systems up-to-date and ready to perform.
Read more: What is metaverse and why do businesses need to adapt it?


